Reconstruction of the Cafrine costume
Part 2: The garment
The Cafrine & her baby
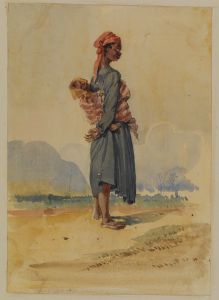
We are proud to present our latest historical reconstruction project, based on this watercolour of the Duke of Treviso, dating from 1861.
To make sure you don't miss out on any information, we've included :
- the article about the painter Hippolyte Charles Napoléon Mortier, the Duke of Trevise
- Part 1 of this reconstruction, explaining the watercolour and Dominique VANDANJON-HERAULT's research into it in the article Reconstruction of the Cafrine - Part 1: At Le Tampon, A cafrine and her baby.
The garment making
The world of sewing pattern designers is vast, especially since the resurgence in popularity of the sewing machine with the confinements.
The world of historic patterns, however, is smaller, and mainly English-speaking.
The pattern
For this project, I knew I already had some historical patterns in stock.
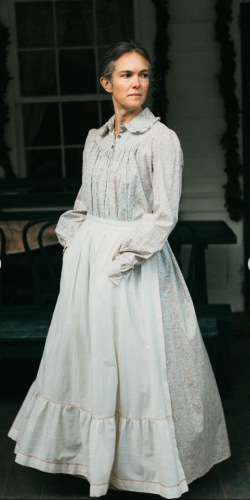
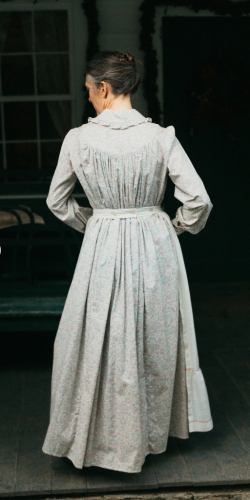
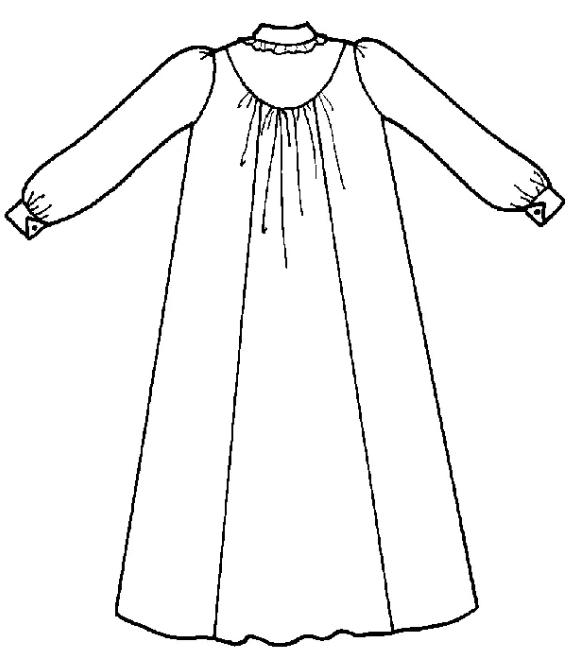
After a bit of wandering, I finally opted for the "201 Prairie Dress" pattern from Folkwear, which, apart from a few details, suits our re-enactment objective quite well. See for yourself.
Prairie Dress Front view
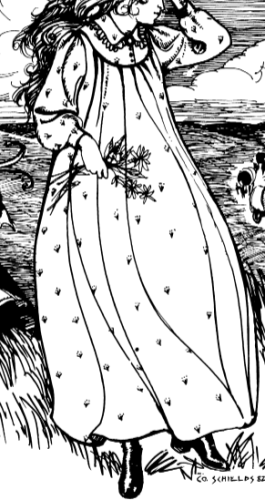
Prairie Dress Back view
Our project
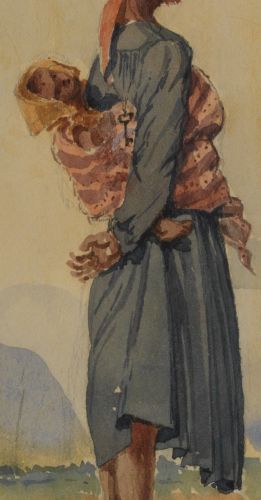
To do :
- using the body of dress
- move the seams of the body of the dress
- do not make the collar
- retrace the yoke (rather deep on the original pattern)
Last little aside
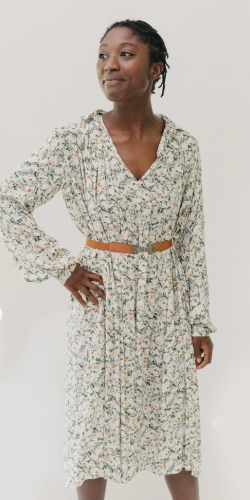
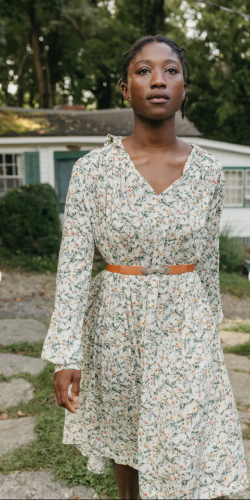
The Folkwear fashion house has an interesting range of historical patterns that can be modified for everyday wear. Below, images from the site with their pattern worn in two different ways.
Photos property of Folkwear
The fabric
Following research by
- our scientific validator: Dominique VANDANJON-HERAULT on the fabric used in the article One Mystery solved
- our journalist: Indrajeet YADAV on the subject of uniforms in the article Worker Uniforms: True Blue that Endures Stains
so I opted for Chambray.
Unfortunately, most of the chambray available on commercial websites is patterned, whereas a plain fabric was needed...
Until... !
Les Coupons de Saint-Pierre is a site that is constantly changing according to their arrivals, which I sometimes use, particularly for the interesting prices on the 3m coupons.
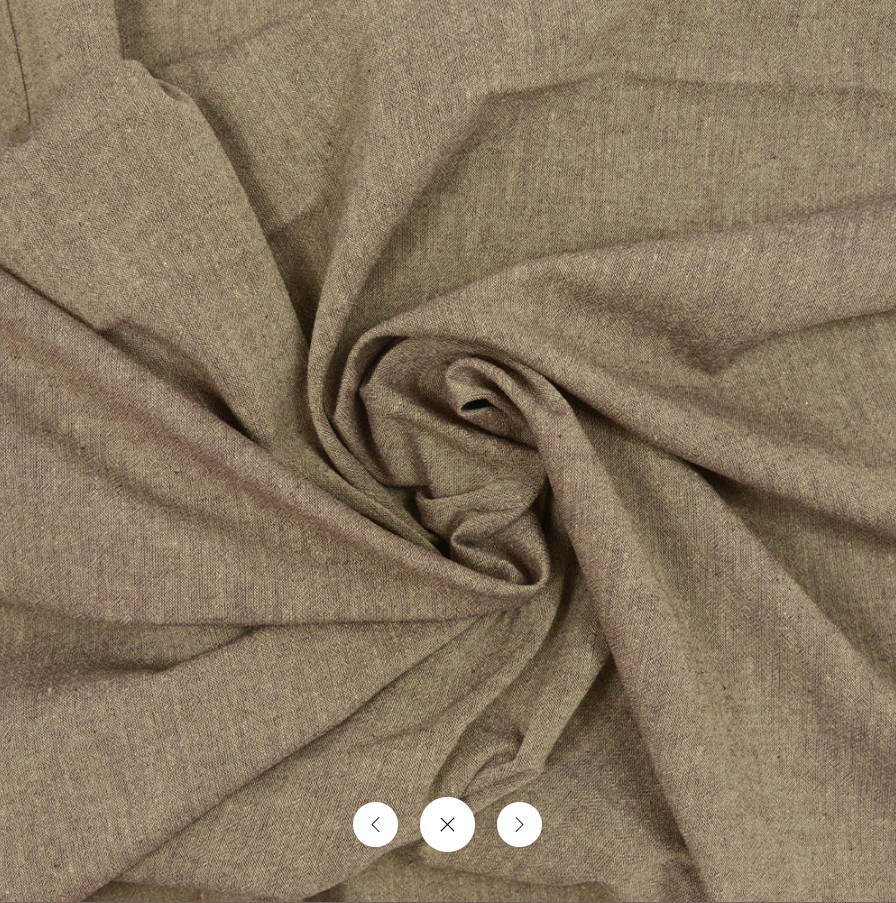
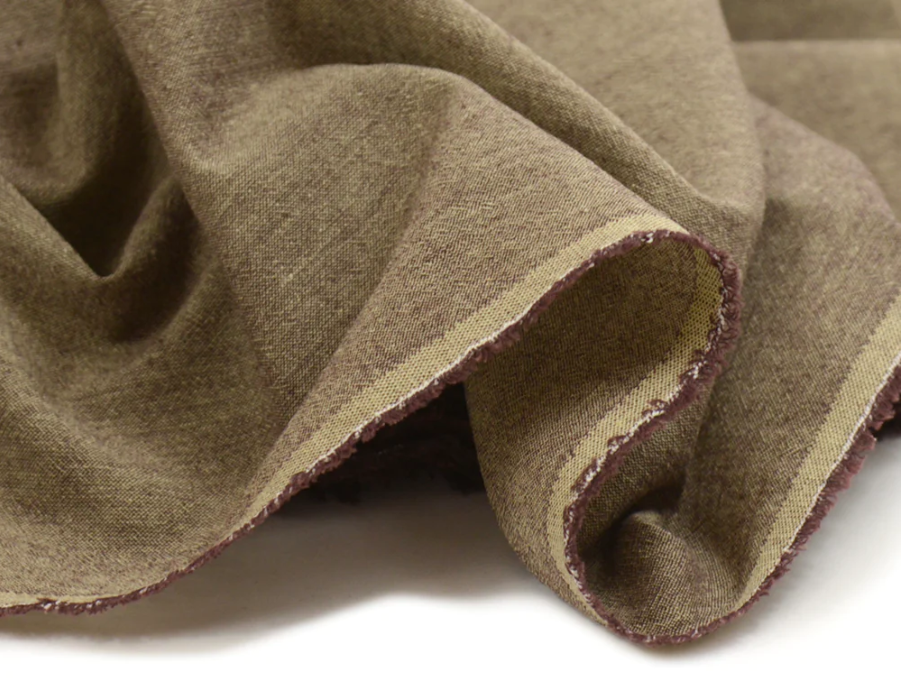
I found a beautiful chambray there that was a similar colour (nothing that can't be fixed with a little dye) Unfortunately I didn't save the visuals of the fabric I bought, but the one shown below is of the same type, but woven with a beige thread instead of blue (which is the characteristic of chambray).

Still not sponsorised :)
Behind the scenes of this garment making
Did you know that we have an Instagram where we communicate as soon as possible about our research and projects? I invite you to follow us to keep up to date in real time.
This time, we filmed the pattern-making and sewing process in timelapse.
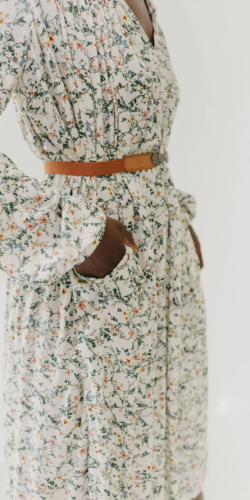
A small glimpse of the details of the finished and worn work
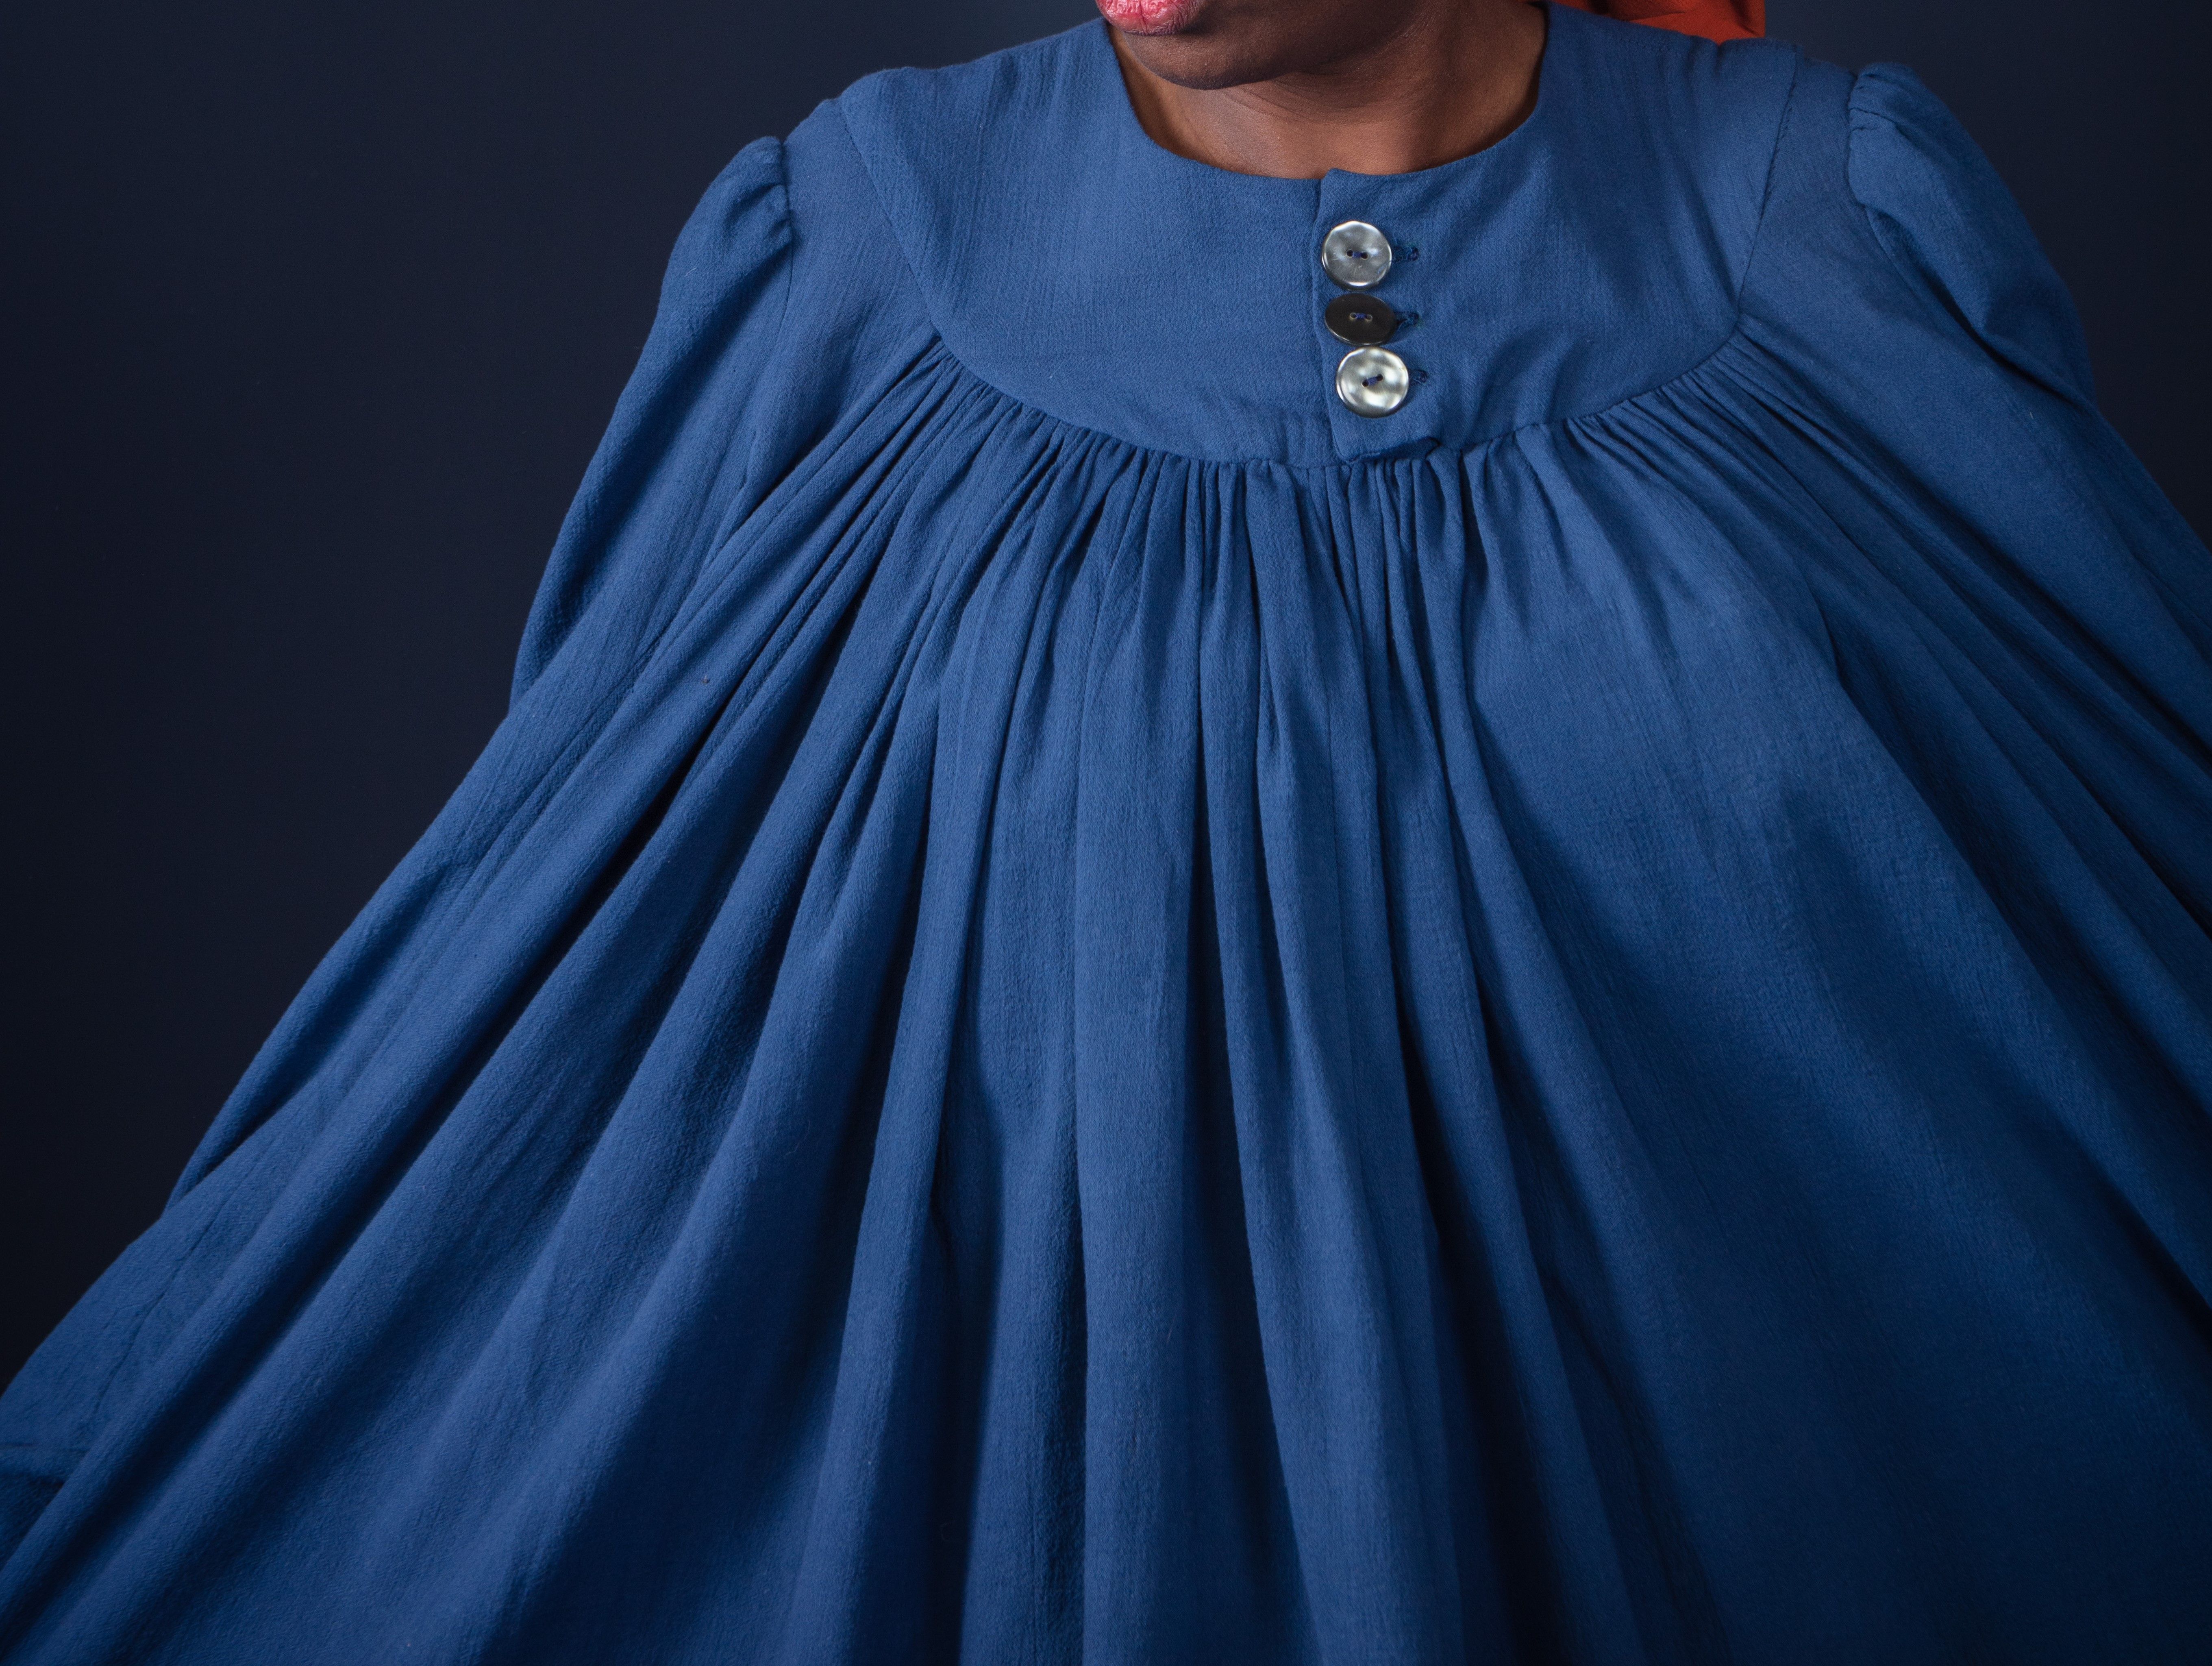
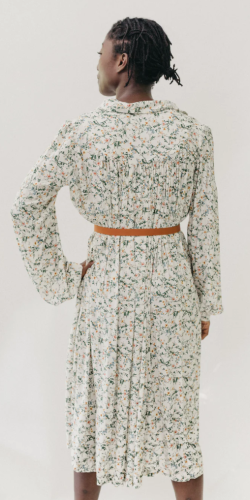
Gathers at the front and back, and gathers at the shoulders and cuffs. It's certainly thanks to this fullness that this style was a popular work dress, but also a maternity dress. Having said that, this style is greedy for fabric...6m...I have almost no waste!
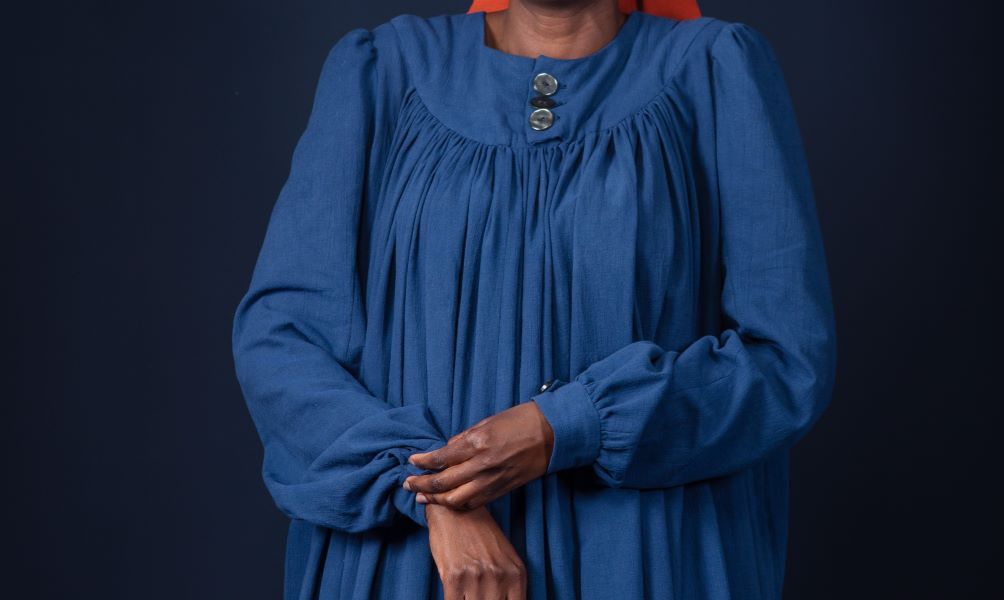
I wasn't sure whether the watercolour had cuffs or not, so I opted to wear them. It's more comfortable for the model to put on, and doesn't require too much extra work for those who like to make buttonholes.
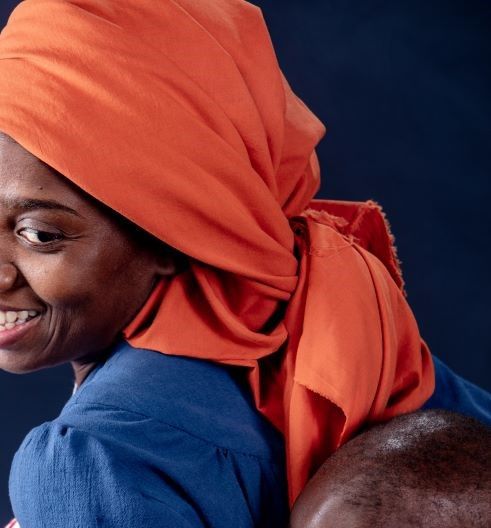
It's harder to see the ruching on the back because we quickly put the thread on the back. The yoke has been modified to be shallower than on the original pattern
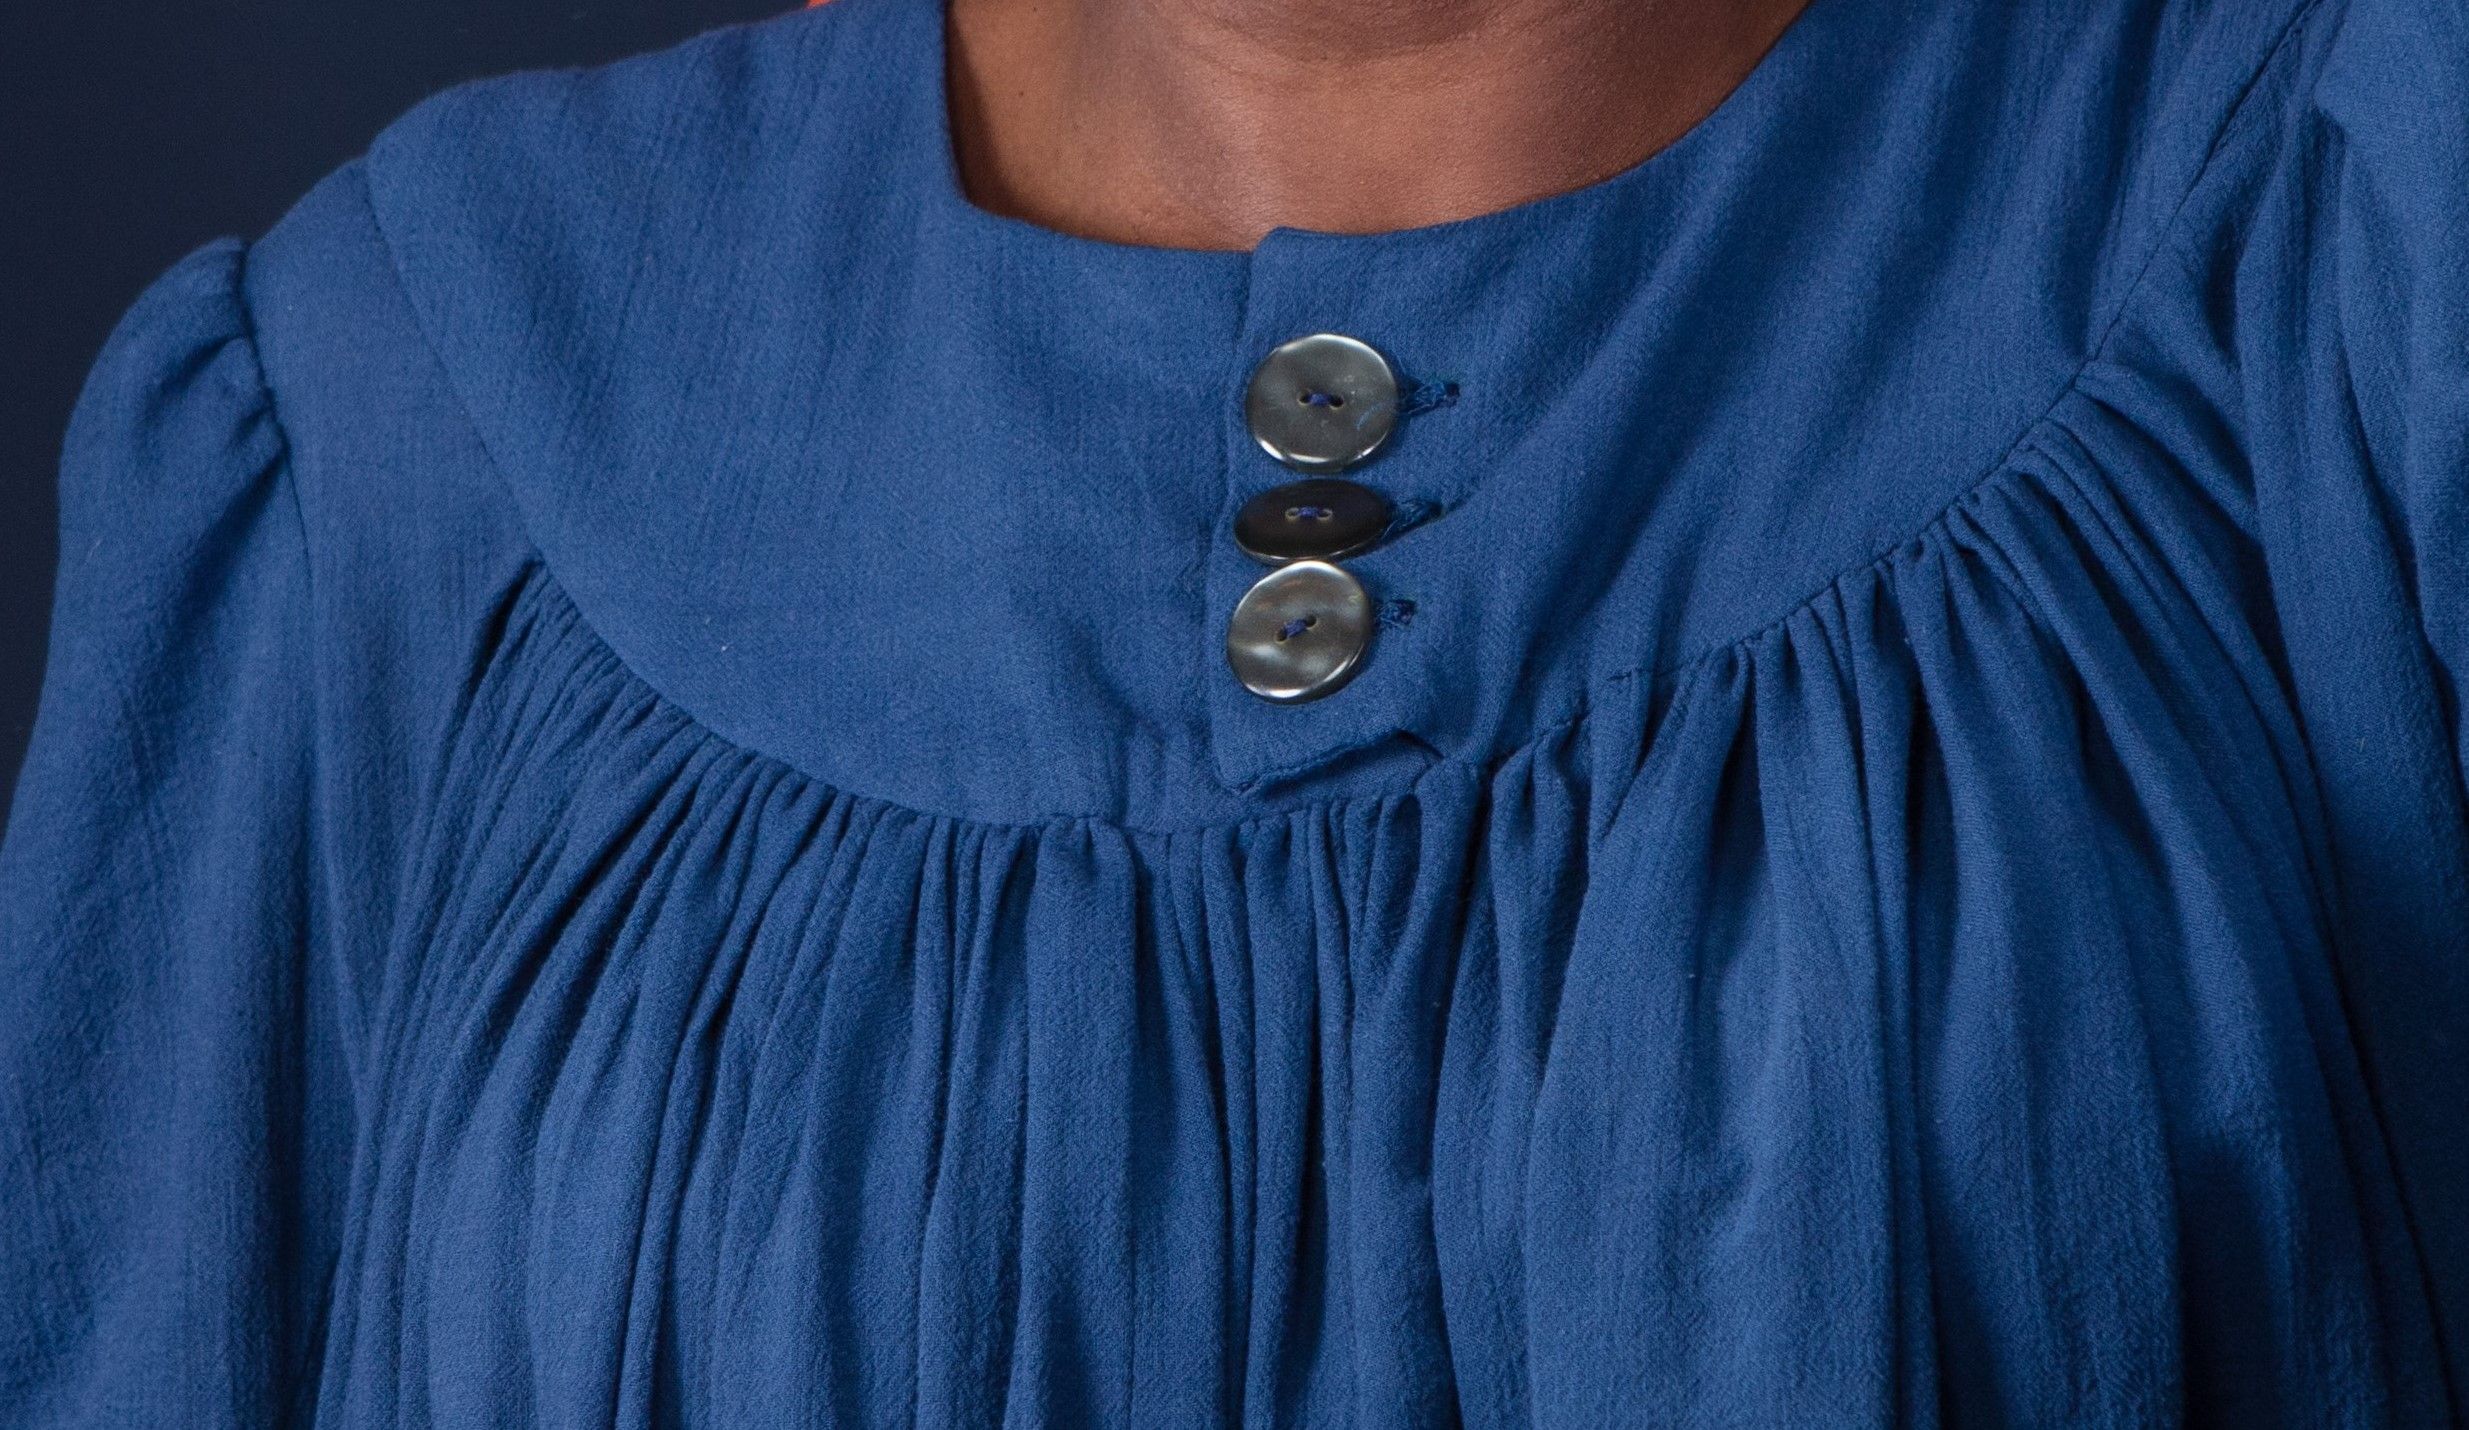
are not historical...not having any references, and having forgotten them when I bought the fabrics...I made do with what I had :-/
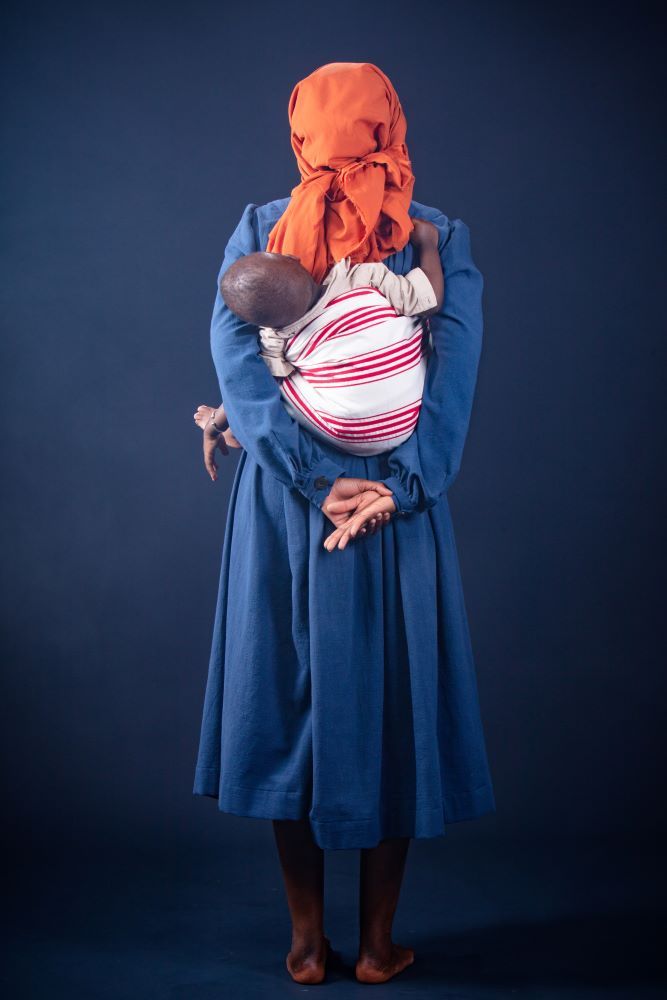
Mid-calf as in watercolour
The result in a forthcoming article!
We hope that this insight into the making of this garment has inspired you to embark on a creative adventure! Or even taught you something new
Come and share your impressions and discuss them with us on our social networks ;)


